Over the past year, I’ve been recording POV (point-of-view) footage from my outdoor adventures – mostly paddling, rowing, and biking. These videos offer a first-person view of real workouts in some of the most scenic areas of northern Colorado.
So far, I’ve filmed in places like: Boyd Lake, Carter Lake, Horsetooth Reservoir, and Boedecker Reservoir and bike trails around Fort Collins, Loveland, and Windsor.
I use a DJI Action 5 camera mounted with RAM mounts – on my bike’s handlebar, inside the cockpit of my Sea Wind canoe, or just above the mirror on my Liteboat rowing shell. Occasionally, I test other setups using SeaSucker or Neewer suction mounts to capture new angles. In the past I used GoPro cameras. Sometimes, I am using Sony RX0 II camera, but mostly for still images or static video, especially, with a partially submerged camera.

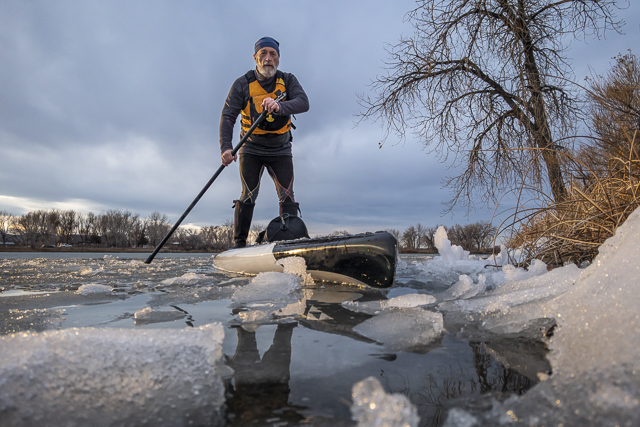
Waterproof DJI Action 5 camera mounted with RAM mount on a decked expedition canoe. 
Cockpit of touring e-bike, Superdelite by Riese-Muller with a biking computer and DJI Action 5 camera mounted on handlebar. 
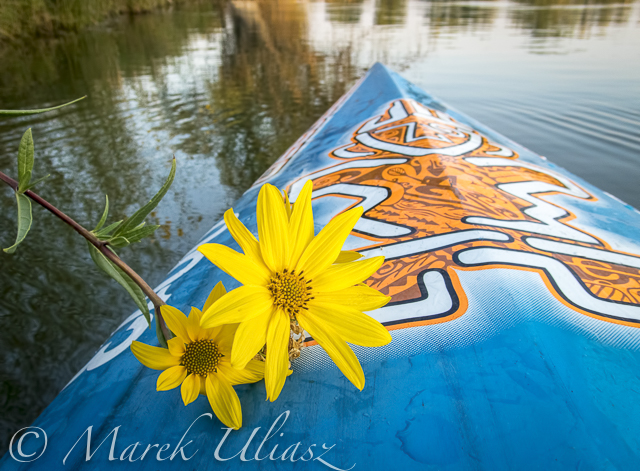
DJI Osmo Action 4 camera mounted with GorillaPod on a bow of packraft – Horsetooth Reservoir in northern Colorado. 
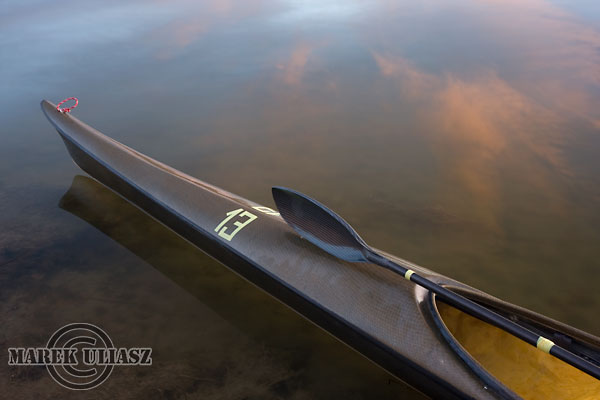
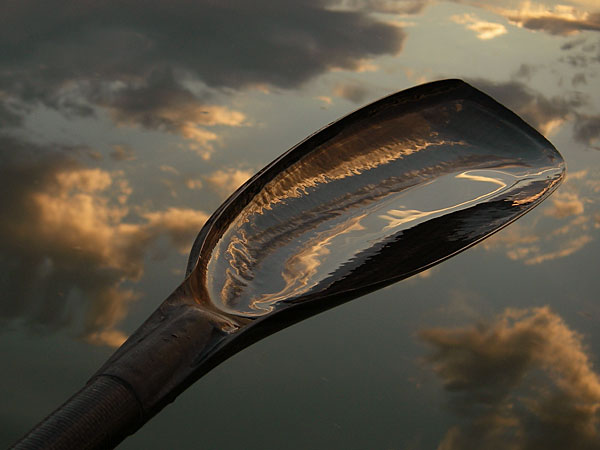
rowing mirror and action camera with suction cup mount 
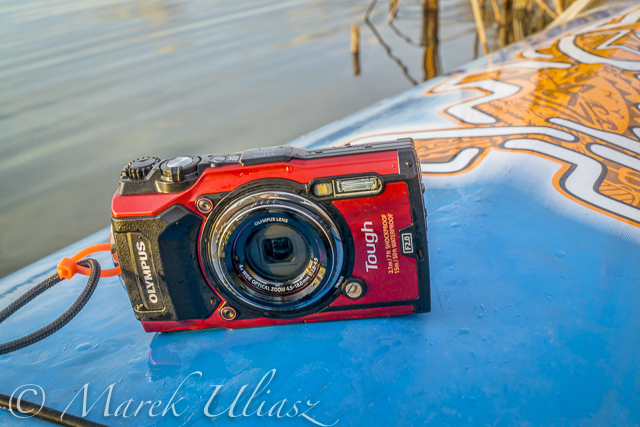
Sonmy RX0 II 
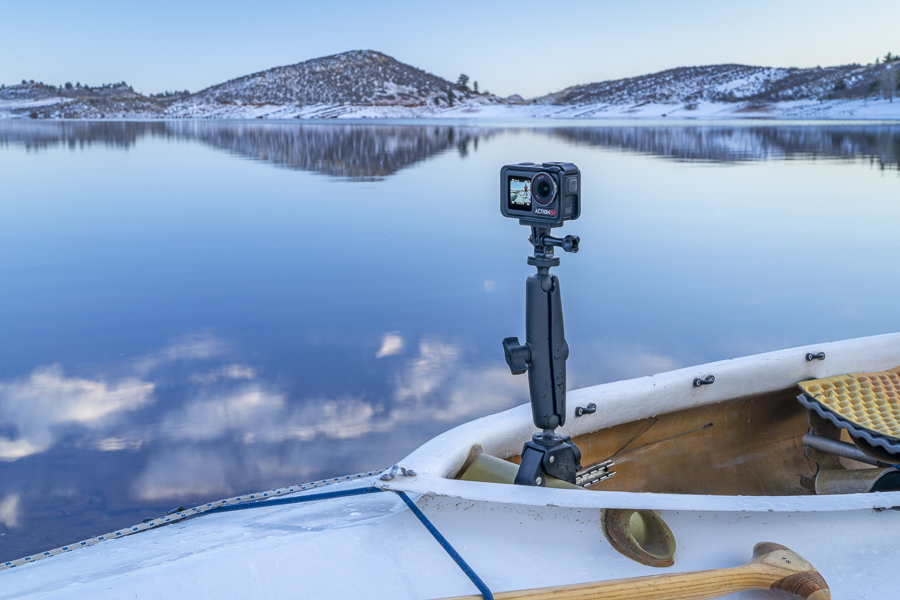
DJI Action 5 camera mounted with RAM mount onan decked expedition canoe, dusk winter scenery on Horsetooth Reservoir in Colorado. 
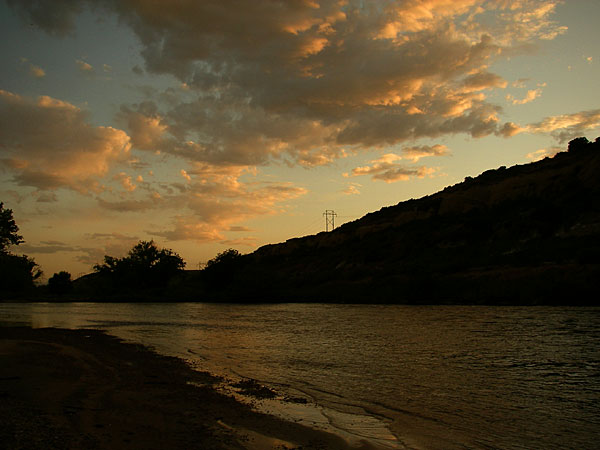
GoPro Hero 10 black, waterproof action camera mounted with a popular articulated RAM mount on mountain bike handlebars against river landscape. 
GoPro Hero 10 waterproof action camera mounted with RAM mount and Seasucker suction cup on a deck of paddleboard or kayak. 
GoPro Hero action camera mounted with Seasucker suction cup and RAM mount on a stand up paddleboard by SIC SUP.
These recordings have evolved into four categories of video content, shared on YouTube and Kinomap:
1. Outdoor Scenery for Indoor Workouts
If you enjoy the idea of “training through nature,” this playlist might be for you. These longer videos (up to 1 hour) feature real paddling, rowing or biking sessions with ambient sounds (paddling/rowing), some text commentary and music from Epidemic Sound. Ideal for indoor rowing, cycling, or just watching to feel immersed in nature.
2. Virtual Training with GPS and Heart Rate (on Kinomap)
These are interactive, data-driven training videos for use with rowing, cycling, or running machines. Each session includes GPS tracks and HRM (heart rate monitor) data, synced with the video in real time. No music – just the natural sound of the activity and terrain.
3. 10 Minutes of Relaxation (YouTube Series)
My newest video series is designed for quick, calming breaks. These 10-minute POV videos combine real paddling or rowing footage with the soothing sound of the paddle or oars, gentle ambient music, and peaceful scenery. Great for stress relief, quiet focus, or simply unwinding.
4. Inspirational Shorts for Aging Athletes
I also create short 2–4 minute videos exploring themes like realistic optimism, resilience, self-forgiveness, and movement as medicine—all from the perspective of an aging athlete and active senior. These include paddling or biking footage, reflective narration, and motivational ideas.
My most recent paddling footage comes from training sessions for the Missouri River 340 (MR340) – a 340-mile nonstop endurance race I’ll be paddling this July. It’s a major challenge and a key part of my training and motivation this year.
If you’re using any of these videos for your indoor workouts, mental breaks, or just to connect with nature from home, I’d love to hear about it! Feel free to leave a comment or message me directly.
Thanks for following along in this journey.